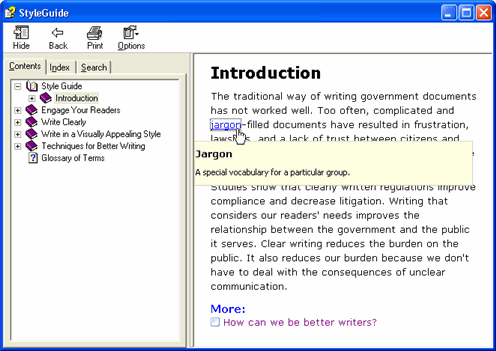
To assist in developing an online and printed glossary, Doc-To-Help automatically creates an empty glossary document whenever a new project is created. If you format your glossary entries with the Glossary Heading paragraph style, Doc-To-Help examines the project documents for text that matches the glossary entries, converting these matches into hyperlinks when you build your Help target. Whenever the user clicks on one of the hyperlinks, a pop-up opens containing the corresponding glossary entry description.
By opening and adding entries to the glossary document within Doc-To-Help, you can quickly create and update your glossary as needed.
1. If necessary, click the Project icon.
2. Select Documents from the left pane.
3. Select Glossary.doc from the right pane, right-click and select Open from the shortcut menu.
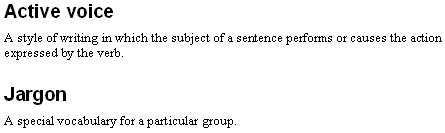
4. Add the following text in the glossary document beneath the Glossary heading:

5. Format "active voice" and "jargon" with the Glossary Heading style.
Note: The Glossary Heading and Glossary Heading (no auto links) paragraph styles are reserved for glossary entries.
6. Format the other text with the C1H Popup Topic Text style.
When steps 4 6 are complete, the glossary text should look like the following example.
7. Save and close the Word document.
8. Restore the project editor.
9. Select Build | Rebuild Target.
Note: The Make Target command compiles only the source documents that have been modified since the last build. The Rebuild Target compiles all source documents. By selecting Rebuild Target, Doc-To-Help scans all source documents for the new glossary terms.
10. After the target is compiled, click the View Target button.
Wherever the Help text matches your glossary entries (Glossary Heading), Doc-To-Help has formatted the text as a pop-up.
11. When youre finished, close the Help file.
For more information, see Creating a Glossary.