Software evolves. As you release new versions of your assemblies, with new properties, events, and methods, keeping the documentation up-to-date can be a challenge. Documenter addresses this by allowing you to regenerate the documentation while keeping the changes you made to the automatically generated files.
To demonstrate this, we will use a new version of the C1BarCode assembly and update the documentation to reflect the changes. The new C1BarCode assembly has an additional property called ShowText. The new assembly is located in C:\Program Files\ComponentOne\DocToHelp\Tutorial\BarCode\BarCode Assembly\Updated.
1. Copy (and overwrite the existing) C1.Win.C1BarCode.DLL file and C1BarCode.XML file from C:\Program Files\ComponentOne\DocToHelp\Tutorial\BarCode\BarCode Assembly\Updated your Source directory.
2. Open Doc-To-Help.
3. From the main screen, start the Documenter, then load the C1BarCode project by clicking the C1BarCode link. You can also click the Open Project button and then locate and open the .d2hdotnet file.
Notice that Documenter remembers where to find the assembly, the XML help file, and which elements to include in the documentation. All that information is stored as part of the project.
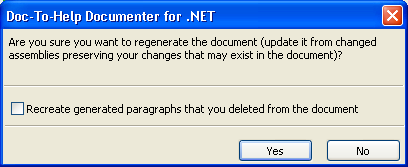
4. Select Generate | Regenerate Existing Document. A dialog box appears asking if you want to regenerate the document.
5. Click Yes.
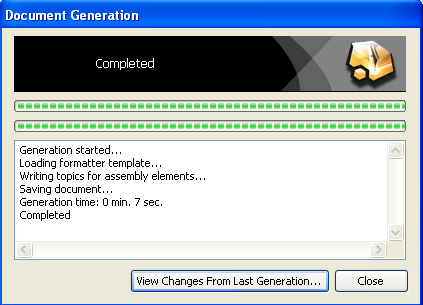
The Documenter will repeat the process of analyzing the assembly and XML help file, and will merge the changes with the existing documentation.
A Note About Regeneration:
Regeneration (rebuilding the automated documentation) removes generated topics and paragraphs that are no longer relevant (part of the assembly), adds new topics and paragraphs as needed, and modifies existing generated paragraphs if they need modification because of assembly changes. Documenter will preserve your changes: user added paragraphs will remain in their places or they will be moved to different places, if the assembly change necessitates the move. Documenter tries to do it in the best possible way, but sometimes there can be user-added paragraphs that cannot be placed in the document after regeneration. Such paragraphs will be lost, removed from the document. For example, you may have a user added paragraph describing a method that is no longer present in the assembly. In this case, your paragraph becomes orphaned, so it is removed from the document.
After each regeneration, you should press View Changes From Last Generation to examine the changes made by Documenter in regeneration and to fix any issues you find. When fixing any issues, make sure you: only add and delete paragraphs, don't modify generated paragraphs, do not use styles starting with "Auto" in your added paragraphs.
In addition to preserving user-added paragraphs, Documenter "preserves" deletions made by the user, when it regenerates the document. This means that if a generated paragraph is deleted by the user before the regeneration, it won't appear in the regenerated document as well. Sometimes (not often) you may need to suppress this behavior, for example, when you deleted some auto-generated paragraphs by mistake and want the Documenter to generate them again, to restore them for you. To do this, you can check the checkbox Recreate generated paragraphs that you deleted from the document in the confirmation dialog shown when you start regeneration. But bear in mind that in this case Documenter will ignore all your previous deletions, that is, it will recreate all paragraphs that you deleted if they are still relevant in the current assembly contents.
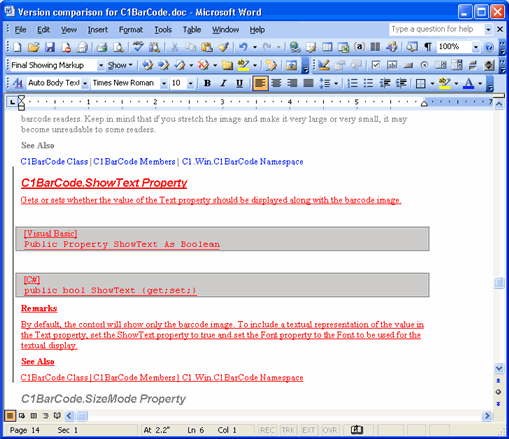
6. Click the View Changes From Last Generation button.
Note that the added property is highlighted in red.
7. Close the Word document displaying the changes and click the Close button on the Document Generation dialog.
8. Rebuild the help project. Notice the new topics that were added for the new properties, which were also included in the documentation outline.
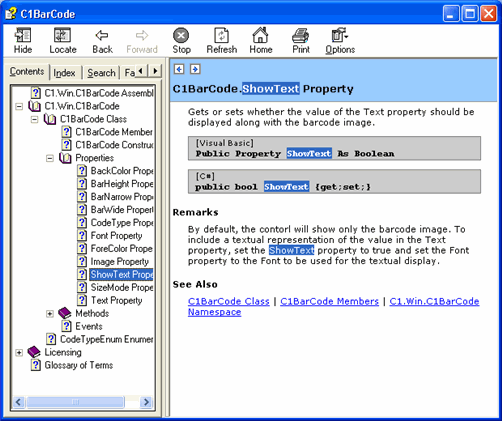
Notice also how the changes that you made in the previous step were preserved.
This completes the Documenter for .NET Guided Tour.