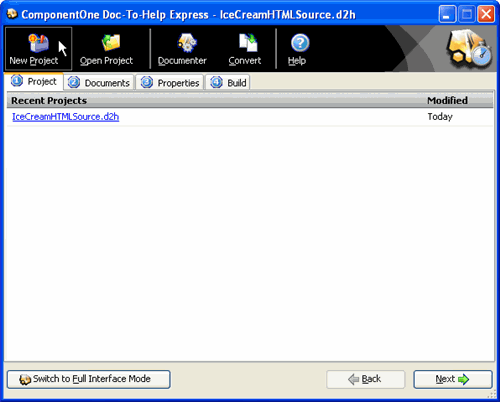
Doc-To-Help Express allows you to open projects or create new ones.
1. To create a new project, click the New Project button on the Doc-To-Help Express interface.
2. A dialog box appears asking you to browse to the location of your project.
3. Create a name for your Doc-To-Help Express project.
Note: No two Doc-To-Help projects can reside in the same folder; each project must have its own folder.
4. The New Project Wizard dialog asks you what source documents you plan to use in your project Microsoft Word documents (Word documents only), Mixed documents (Microsoft Word documents and HTML source documents), or HTML documents (HTML documents only). For this particular project, select Mixed documents.
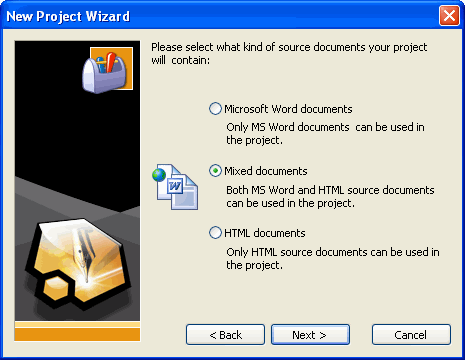
Note: If using mixed or HTML documents, Doc-To-Help will prompt you for the name of the default file for content. The Adding HTML Documents dialog box will appear allowing you to set the number of topics in the document and document style. For more information, see Adding a Document to a Project.
5. The New Project Wizard then asks the kind of Style Sheets you wish to use with the HTML documents Full set of styles or Minimal set of styles.
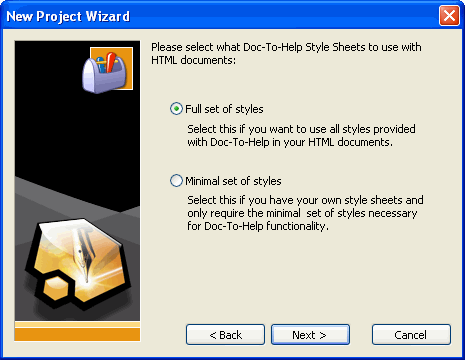
By selecting Full set of Styles, Doc-To-Help Express gives you full access to all of the styles available in Doc-To-Help.
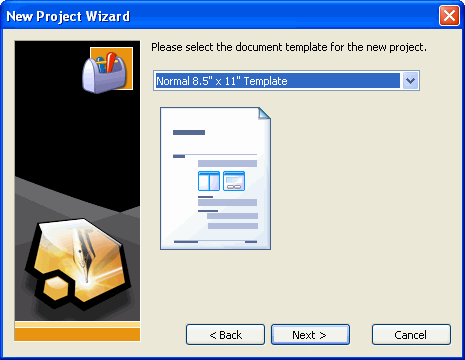
6. You are then instructed to select a template size and default help target.
7. Select which type of file that you would like to begin working with, either a Microsoft Word document, an HTML document, or an empty project with no initial documents.
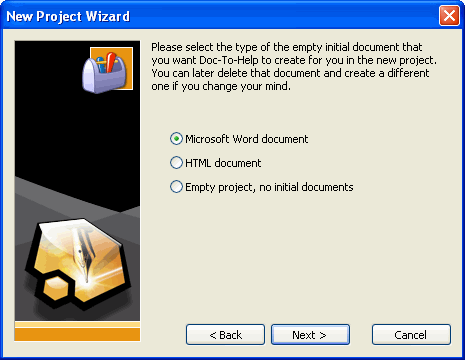
8. Click Finish to create a new project file.