Sharing a project with a Web repository is the most advanced method for sharing a team project. It allows you to share your project with anyone connected to the Web.
When using a Web repository, Doc-To-Help uses Web-based Distributed Authoring and Versioning (WebDAV) technology. WebDAV is a protocol that allows connectivity between a remote server and a local machine for easy file sharing among multiple users. WebDAV is supported by all major Web servers, but it is not necessarily enabled for any server location.
For example, Internet Information Services (IIS) is just one of the Web servers that you can use. If you are using IIS, first you must set up a virtual directory on the Web server in order to share a project using a Web repository. This virtual directory will be the location of the team project.
To set up a virtual directory on your Windows machine if you are using IIS:
1. Make sure IIS is installed.
2. Open the Computer Management utility:
a. Click the Start menu and select Control Panel.
b. Click Performance and Maintenance and then click Administrative Tools.
c. Double-click Computer Management.
3. Expand the Services and Applications node.
4. Expand the Internet Information Services and Web Sites nodes.
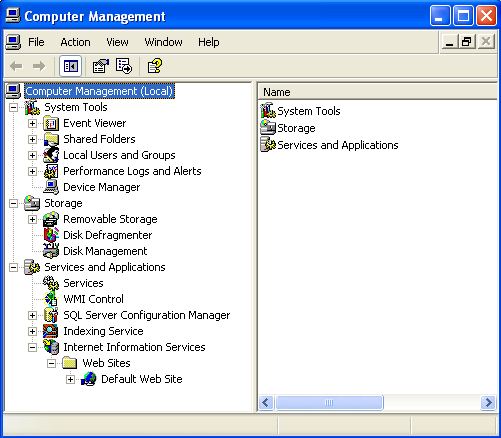
5. Right-click Default Web Site and select New | Virtual Directory. The Virtual Directory Creation Wizard opens.
6. Click Next.
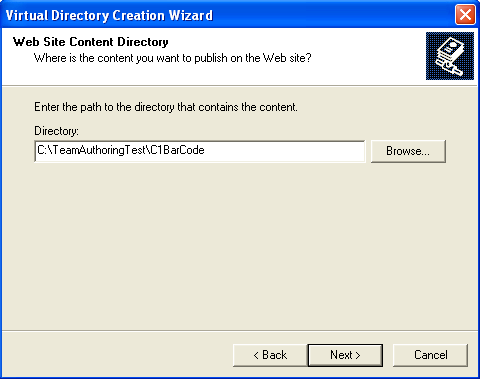
7. Enter a name for your virtual directory in the Alias text box. This name will be part of the URL for your Web repository.
8. Browse to the physical directory on your machine that contains the content you want to share and click Next.
9. For the Access Permissions, make sure these items are checked: Read, Run scripts, Write, and Browse.
10. Click Next and then click Finish to complete the process. The virtual directory is now set up.
Here are some tips on setting up a virtual directory:
Make sure the directory has Read, Write, and Browse privileges.
You may need to consult your network administrator to set up the virtual directory.
Once you have a virtual directory created, then you can share the project.
To share a project for team-authoring:
1. Create a new Doc-To-Help project or open an existing one.
2. Select File | Share Project for Team Authoring. The Share Project wizard appears.
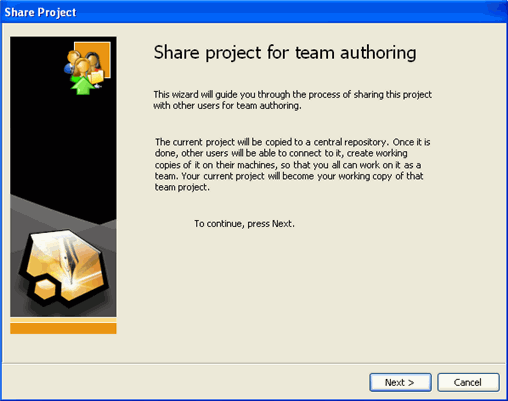
3. Click Next to continue.
4. Under Select repository type, choose Web Repository. The team project will be located on a Web server.
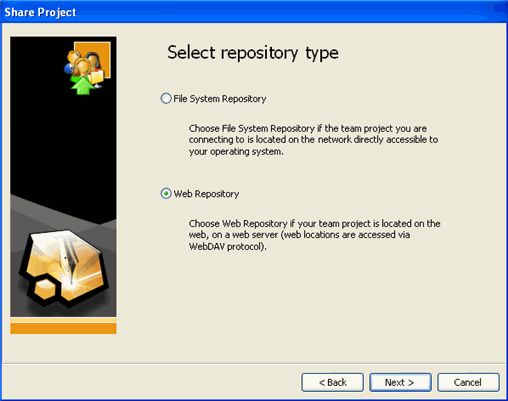
5. Click Next to continue.
6. Enter the URL of the virtual directory you created.
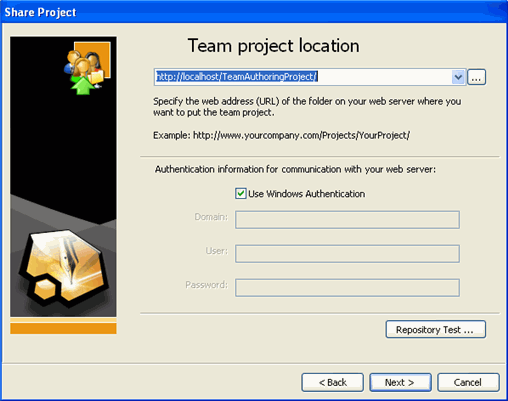
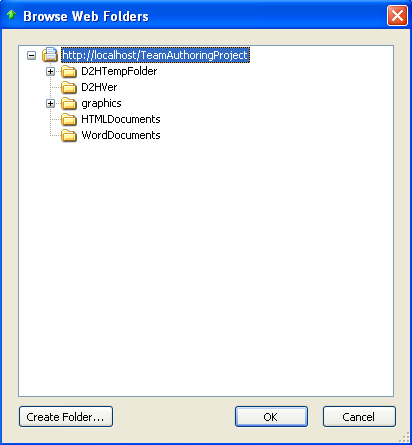
Notice that once you enter the URL, you can click the ellipsis button and browse the directory, as well as create a new folder, if necessary.
7. Choose your authentication method. If you are using Windows Authentication, leave Use Windows Authentication checked. If you are using another form of authentication, deselect the check box and enter your login credentials.
8. Click the Repository Test button to test the connection to the repository and the files and subfolders.
9. Click Next to continue.
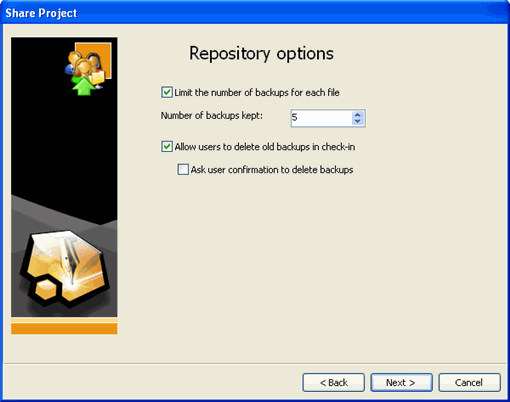
10. In the Repository Options window, the two checkboxes regarding file backups are checked by default:
Limit the number of backups for each file: When checked, there is a limit on the number of backups kept for each file in the repository. This number can be specified in the Number of backups kept box; the default is 5. If this option is unchecked, every time a file is checked-in, a new backup file is created in the repository, and there is no automatic cleanup of old backup files.
Allow users to delete old backups in check-in: Check this box if you want other team members to be able to delete old backup files when they check a newer version of the file into the repository when the limit of backups for that file has been exceeded.
Ask user confirmation to delete backups: Check this box if you want a confirmation dialog box to appear when the limit of backups for a file has been exceeded when a team member checks a newer version of the file into the repository. This option is only available when the Allow users to delete old backups in check-in checkbox has been checked.
The Ask user confirmation to delete backups checkbox is unchecked by default, meaning the team member will not be asked to confirm the backup cleanup; it is performed automatically without any notification.
Note: These options can be changed using the team administration utility at any time after the team project is created. See Changing Repository Settings for more information.
11. Click Next to continue.
12. Click Yes to confirm your repository information and click Next to create the team project.

The Upload project dialog box appears.
13. Once the upload process is complete, click Close. At this point, your project has been uploaded to shared directory and the copy in which you were working is the working copy. This is the version in which you will perform all authoring tasks. The team project now on the Web server is the master copy.
Note: The team project should never be manually opened or altered. If you wish to make changes in the team project, make the changes locally in your working project, and then send, or check in, your changes to the central repository.
14. Click Finish.