Sharing a project with a file system repository is the easiest method for team authoring. It is recommended if all team members are connected to the same network.
The only prerequisite for sharing a project with a file system repository is having access to a shared folder on the network.
To share a project for team authoring:
1. Create a new Doc-To-Help project or open an existing one.
2. Select File | Share Project for Team Authoring. The Share Project wizard appears.
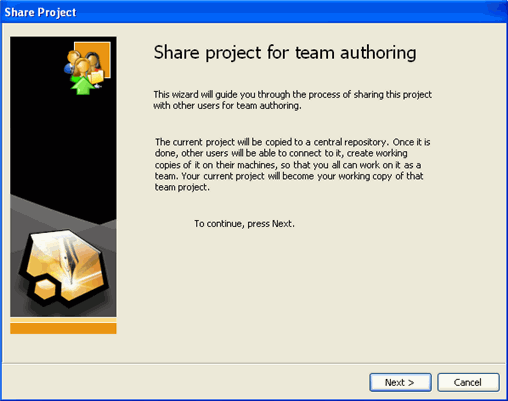
3. Click Next to continue.
4. Under Select repository type, choose File System Repository. The team project will be located on your organization's network.
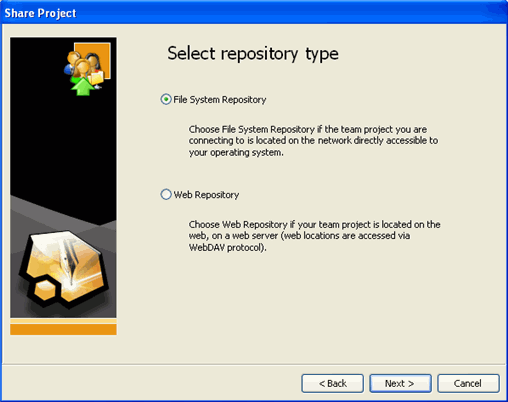
5. Click Next to continue.
6. Enter a network location for the team project or click the ellipsis button to browse for a folder on the network where you would like the team project to live.

7. Click the Repository Test button to test the connection to the repository and the files and subfolders.
8. Click Next to continue.
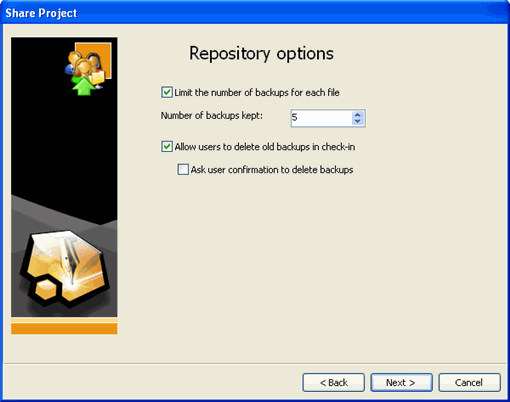
9. In the Repository Options window, you can specify the settings regarding file backups:
Limit the number of backups for each file: When checked, there is a limit on the number of backups kept for each file in the repository. This number can be specified in the Number of backups kept box; the default is 5. If this option is unchecked, every time a file is checked-in, a new backup file is created in the repository, and there is no automatic cleanup of old backup files.
Allow users to delete old backups in check-in: Check this box if you want other team members to be able to delete old backup files when they check a newer version of the file into the repository when the limit of backups for that file has been exceeded.
Ask user confirmation to delete backups: Check this box if you want a confirmation dialog box to appear when the limit of backups for a file has been exceeded when a team member checks a newer version of the file into the repository. This option is only available when the Allow users to delete old backups in check-in checkbox has been checked.
The Ask user confirmation to delete backups checkbox is unchecked by default, meaning the team member will not be asked to confirm the backup cleanup; it is performed automatically without any notification.
Note: These options can be changed using the team administration utility at any time after the team project is created. See Changing Repository Settings for more information.
10. Click Next to continue.
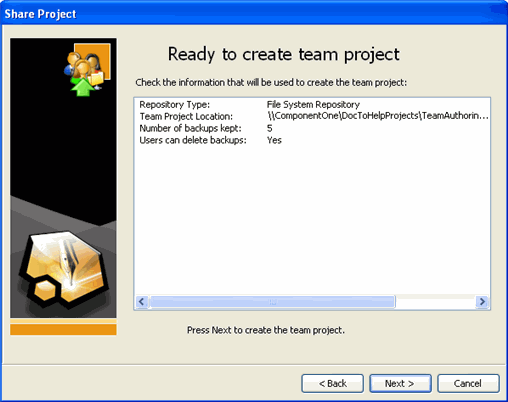
11. Confirm your repository information and click Next to create the team project.
The Upload project dialog box appears.
12. Once the upload process is complete, click Close. At this point, your project has been uploaded to shared directory and the copy in which you were working is the working copy. This is the version in which you will perform all authoring tasks. The team project now on the network is the master copy.
Note: The team project should never be manually opened or altered. If you wish to make changes in the team project, make the changes locally in your working project, and then send, or check in, your changes to the central repository.
13. Click Finish.