1. On the View menu, click Reports.
2. Select the report you want to see. For a description of each, see Available Reports.
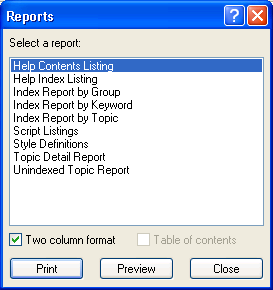
3. Depending upon which report is selected, it may be available in Two column format with an optional Table of contents at the end of the print job. If available, select or clear the corresponding check boxes as desired.
4. Click Print to send the report to the default printer, or click Preview to view the report within the Doc-To-Help application window. Click Close to dismiss the dialog box without printing or previewing.