Some of Microsoft Word's drawing and text layout features are ideal for producing hard copy output, but ill-suited for creating online Help. AutoShapes, text boxes, and WordArt effects can only reside in the drawing layer; you cannot insert them as inline elements. Since you have no control over the placement of floating objects in the RTF files passed to the WinHelp compiler, you really can't take advantage of these features.
Although the WinHelp compiler supports Word tables, it does not support table borders or shaded cell backgrounds. If you want to see these table features in a Help file, you have to create a bitmap that looks like a table or take a screen shot of a table in Word.
Fortunately, you can circumvent these restrictions on tables by embedding another Word document within your source document as follows:
1. In your source document, click where you want to insert a table or drawing object.
2. On the Insert menu, click Object.
The following dialog box opens.
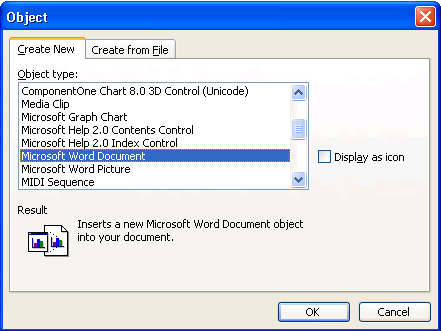
3. In the Object type list, select Microsoft Word Document.
4. If checked, clear the Display as icon check box, then click OK to create a new document.
5. Insert the table or drawing object as you would in a "normal" Word document.
6. When you are finished editing, click Close & Return to on the File menu to return to the original document.
When Doc-To-Help compiles the source document, it treats the embedded Word document as a graphic and creates an appropriate image file for the current Help target.
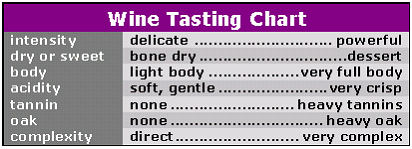
Example
The following table was inserted into the source document as an embedded Word document.
Like tables, Doc-To-Help cannot translate floating pictures into the final Help system. Converting a floating picture to an Inline shape will ensure that this image is included in the final document.