In many cases, it is more effective to create topic links using image hot spots rather than text links. In this way, the user can get information on a specific aspect of an interface or jump to a description of a specific tab by simply clicking on that area of the image in the Help file.
1. Select an image in your source document.
2. Click the
Image Map Editor icon ![]() .
.
3. Click the
Draw (Insert) icon  .
.
4. Define the size of your hot spot by dragging the box over the image in the editor.
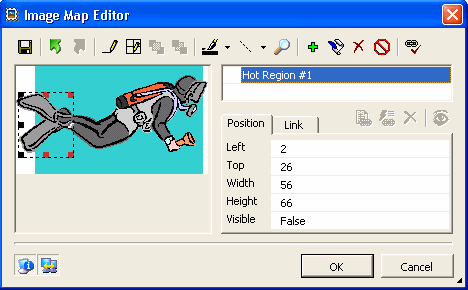
Note that the size properties (Left, Top, Width and Height) have been defined by the size of the box you created.
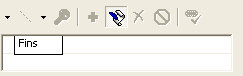
5. Rename your
link by clicking the Rename icon  and typing a new name.
This name appears as a label when you cursor over the link area.
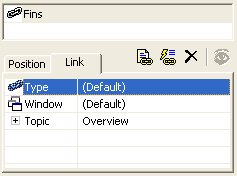
6. Select the Link tab.
7. Define your topic or dynamic topic by selecting the appropriate icon.
8. Continue to insert additional hot spots as needed.
9. Click OK to save your changes and close the Image Map Editor.
10. Build your Help target.