1. On the Project menu, click Organizer. The Organizer dialog box opens.
Initially, all elements in the active project are displayed in the list on the left side of the dialog box. Use the Show elements list to view a specific type:
![]() Paragraph and character style behaviors
Paragraph and character style behaviors
![]() Group names
Group names
![]() Index keywords
Index keywords
![]() Script code modules
Script code modules
![]() HTML Help window definitions
HTML Help window definitions
![]() WinHelp window definitions
WinHelp window definitions
![]() Help
target properties
Help
target properties
![]() Topic type definitions
Topic type definitions
2. Click Open File to display a file selection dialog box. Specify a folder and file name for an existing Doc-To-Help project, then click Open. The list on the right side of the Organizer dialog box now contains elements from the specified project. Initially, none of the elements are selected, and the Copy button is unavailable.
3. By default, like-named elements are not copied from one project to another. If desired, check the Overwrite existing elements box to force the Organizer dialog box to redefine existing elements in the destination project.
4. Select one or more elements in the list on the right, then click Copy. When you are finished, click the Close button at the lower right corner of the dialog box.
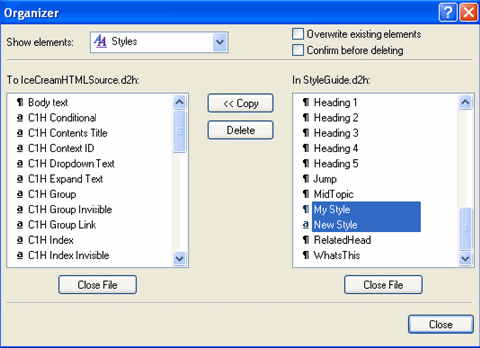
The following figure shows the Organizer dialog box ready to copy two styles from one project (StyleGuide.d2h) to a new project file (CondText.d2h).