You can use startup macros to create a button that appears every time a user opens the Help file. The following example creates a button labeled WinHelp Help that appears on the button bar every time the Help file is open. When the button is clicked, it takes the user to the WinHelp help file.
In this example we will use "nested" macros. You can have a single macro use up to two more additional macros. This nesting capability lets you combine the features of macros. In this example, two macros are used: CreateButton and ExecFile. ExecFile is the nested macro.
1. Open your Help project.
2. Select the Project icon, then Help Targets from the left pane.
3. Select your WinHelp target from the right pane.
4. From the property pane, click the WinHelpMacro property.
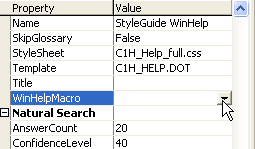
The Edit Windows Help Macro dialog opens.
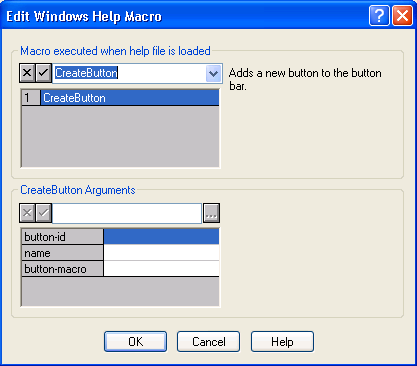
5. From the drop-down list box in the Macro executed when help file is loaded area, select CreateButton.
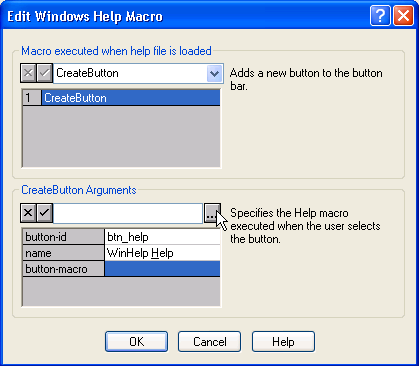
6. Select the button-id box and type btn_help in the textbox at the top of the CreateButton Arguments area. This is the name you use to identify the button. It can be any unique identifier.
7. Select the name box and type WinHelp &Help in the textbox at the top of the CreateButton Arguments area. This is the text that you want to appear on the button. The character following the ampersand is the hotkey.
8. Select the button-macro cell and click the ellipsis button as shown below.
A second Help Macro dialog box appears. You specify here which macro you want executed when the user clicks on the WinHelp Help button. In this example, when the button is clicked, the WinHelp Help file opens.
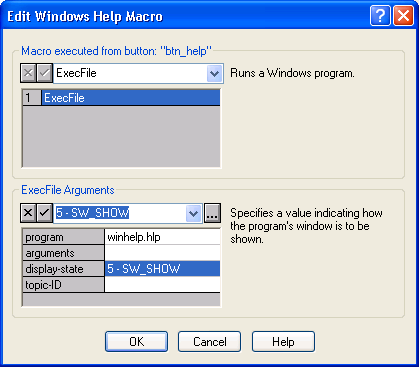
9. From the drop-down list box, select ExecFile. The ExecFile Arguments section appears in the dialog box.
10. Select the program box and type winhelp.hlp in the textbox at the top of the ExecFile Arguments area. This is the file that will appear when the user clicks on the button.
11. Select the display-state box, and from the drop-down at the top of the ExecFile Arguments area, select the value, 5 SW_SHOW. Your dialog should look like the example below.
12. Click OK to return to the first dialog box.
13. Click OK.
14. Build your WinHelp file.
15. Open your WinHelp file and test the button.